Pilates Chair Exercises: A Comprehensive Guide
Discover accessible fitness! Numerous Pilates chair exercise PDFs are available online, offering guided routines for all levels, promoting strength, flexibility, and postural alignment conveniently.
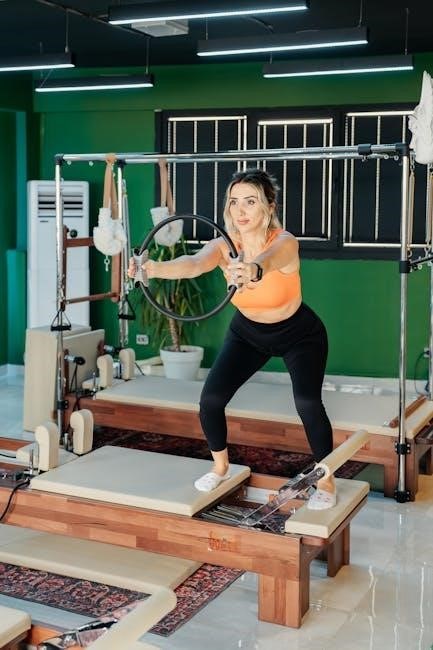
What is Pilates Chair Exercise?
Pilates Chair Exercise represents a wonderfully adapted form of the renowned Pilates method, specifically designed to be performed while seated on a chair. This modification makes Pilates incredibly accessible, particularly for individuals with limited mobility or those seeking a lower-impact workout.
Unlike traditional mat Pilates, chair Pilates utilizes the chair for support, assistance, and even resistance, allowing for a safe and effective full-body workout. Many resources, including readily available Pilates chair exercise PDFs, detail exercises targeting core strength, flexibility, and postural stability.
These PDFs often showcase simple, repetitive movements, making it easy for beginners to grasp the fundamentals. Chair Pilates focuses on precise movements and controlled breathing, mirroring the core principles of traditional Pilates, but in a more adaptable format. It’s a fantastic way to experience the benefits of Pilates without the need for expensive equipment or advanced physical capabilities.
Benefits of Chair Pilates
Chair Pilates offers a remarkable range of benefits, making it a valuable addition to any fitness routine. A key advantage is enhanced core strength – the “powerhouse” – crucial for stability, balance, and posture, impacting everyday movements. Many Pilates chair exercise PDFs emphasize core engagement throughout each exercise.
Furthermore, chair Pilates improves flexibility and muscle endurance, promoting a greater range of motion and reducing muscle fatigue. It’s also a low-impact option, gentle on joints, making it suitable for various fitness levels and those recovering from injuries.
Regular practice, guided by resources like downloadable PDFs, can even reduce the risk of falls by improving balance. It’s a convenient and accessible way to improve overall well-being, particularly beneficial for those spending extended periods seated, like remote workers.
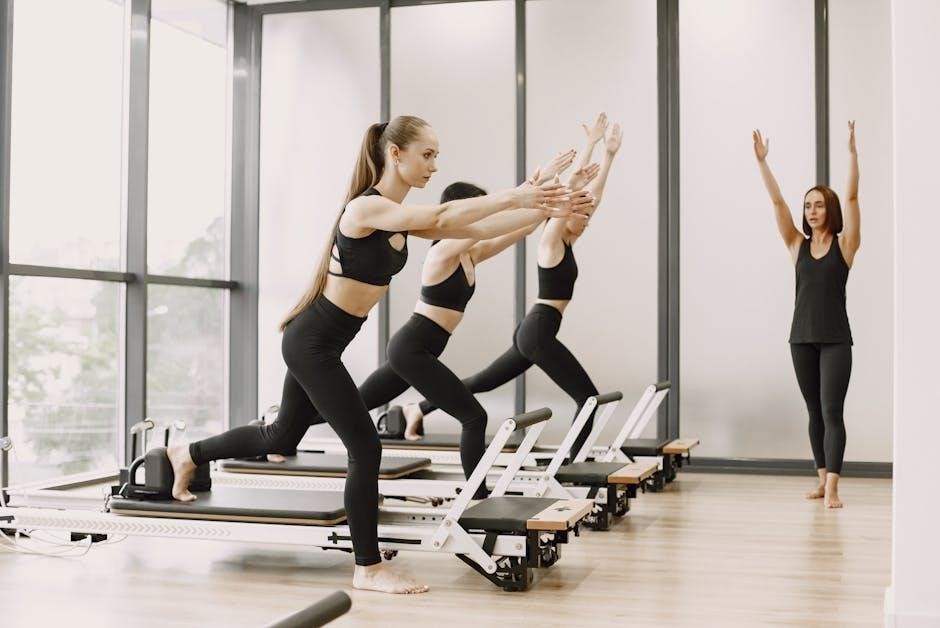
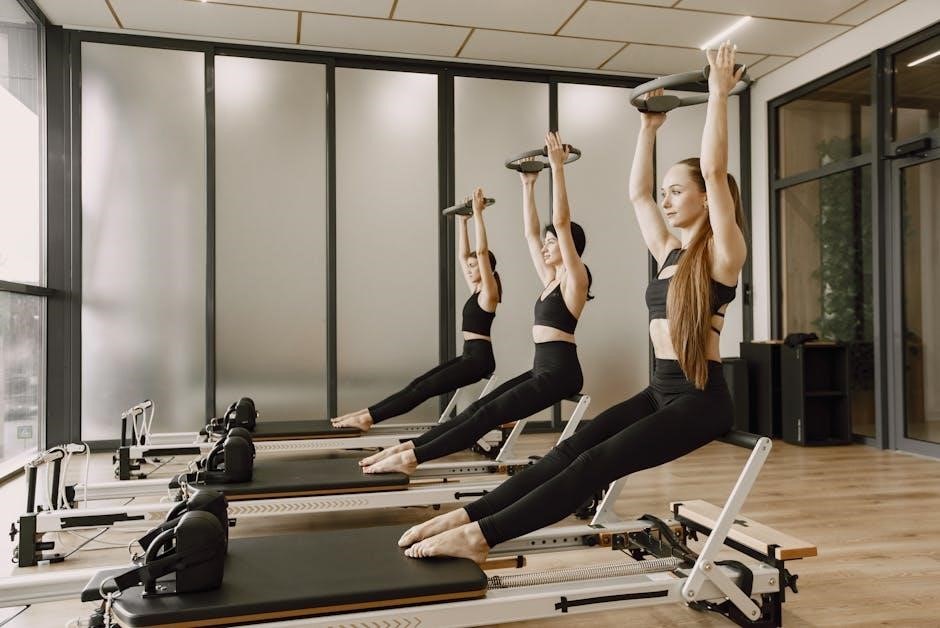
Chair Pilates vs. Traditional Pilates
Chair Pilates and traditional Pilates share the same foundational principles – core engagement, controlled movements, and mindful breathing – but differ in execution. Traditional Pilates often utilizes a mat or specialized equipment like a reformer, demanding a higher level of core strength and flexibility.
Chair Pilates modifies exercises to be performed while seated or using a chair for support, making it more accessible for individuals with limited mobility or those new to Pilates. Many Pilates chair exercise PDFs demonstrate these modifications.
While traditional Pilates can build strength rapidly, chair Pilates focuses on building a solid foundation and improving functional movement patterns. It’s an excellent starting point or a complementary practice, offering similar benefits in a more adaptable format, often requiring no expensive equipment.
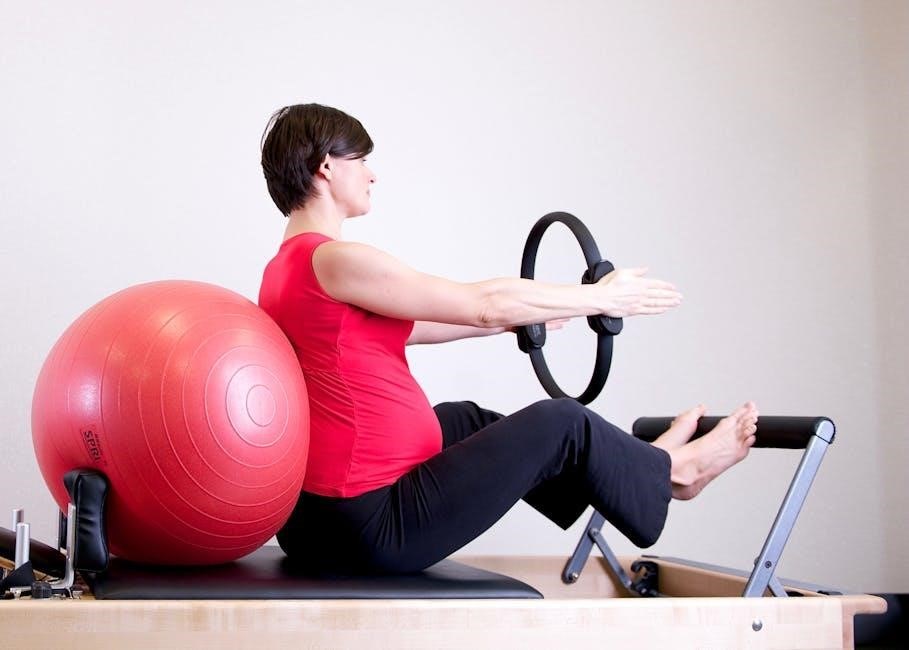
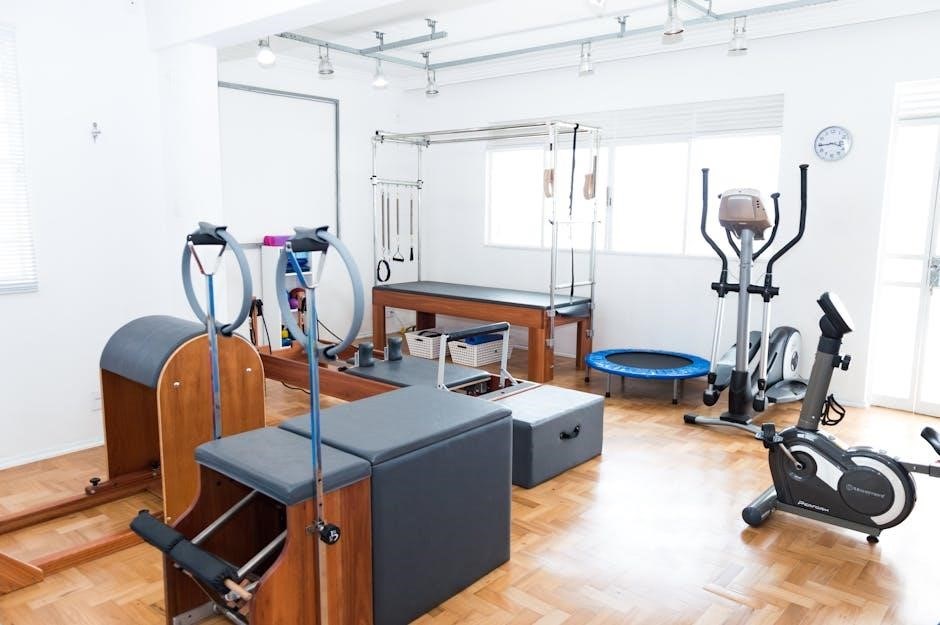
Essential Equipment & Preparation
Minimal gear needed! A sturdy chair is primary; Pilates chair exercise PDFs often suggest resistance bands for added challenge and enhanced workout intensity.
Choosing the Right Chair
Stability is key! When beginning chair Pilates, selecting the appropriate chair is paramount for safety and effectiveness. Avoid chairs with wheels or excessive wobble. A solid, stable chair without arms is generally ideal, allowing for a full range of motion.
Consider the chair’s height; your feet should be flat on the floor with your knees bent at a 90-degree angle when seated. Many Pilates chair exercise PDFs emphasize this proper positioning; A dining chair or a sturdy office chair often works well.
Ensure the chair can support your weight comfortably during dynamic movements. Reviewing Pilates chair exercise PDFs beforehand can highlight exercises requiring greater chair stability, guiding your selection process. Prioritize safety and comfort to maximize your Pilates experience.
Setting Up Your Space
Create a dedicated area! Before diving into your chair Pilates routine, prepare a safe and comfortable space. Clear the area around the chair of any obstacles to prevent accidental bumps or trips during movement. A non-slip mat beneath the chair can enhance stability and protect your flooring.
Good lighting and ventilation are essential for a positive experience. Many Pilates chair exercise PDFs recommend having enough room to extend your arms and legs freely. Consider having a mirror nearby to check your form, ensuring proper alignment as demonstrated in the Pilates chair exercise PDFs.
Keep water handy to stay hydrated. A peaceful environment minimizes distractions, allowing you to focus on your core engagement and breathwork.
Safety Precautions
Prioritize well-being! Before starting any new exercise program, including chair Pilates, consult your doctor, especially if you have pre-existing health conditions. Always listen to your body and stop if you experience pain. Begin slowly and gradually increase the intensity and duration of your workouts, as suggested in many Pilates chair exercise PDFs.
Ensure the chair is stable and sturdy, without any wobbling or loose parts. Maintain proper form throughout each exercise, referencing the visual guides often found in Pilates chair exercise PDFs. Focus on controlled movements and mindful breathing.
Avoid pushing yourself beyond your limits. Modify exercises as needed to suit your fitness level, utilizing variations detailed in available Pilates chair exercise PDFs.
Chair Pilates Exercises for Beginners
Start your journey! Many Pilates chair exercise PDFs offer beginner-friendly routines focusing on core engagement, posture, and gentle movements for accessible fitness.
Seated Core Engagement
Foundation of Strength: A strong core is vital for overall health, impacting stability, balance, and posture – all achievable with chair Pilates. Many Pilates chair exercise PDFs begin with seated core engagement exercises, emphasizing the “powerhouse.”
How to Perform: Sit tall in your chair, feet flat on the floor. Gently draw your navel towards your spine, activating your abdominal muscles. Maintain a neutral spine, avoiding rounding or arching your back. Hold this engagement for several breaths, gradually increasing the duration as you gain strength.
PDF Resources: Look for Pilates chair exercise PDFs that demonstrate proper form and progression. These resources often include variations to challenge yourself as you improve, building a solid foundation for more complex movements. Consistent practice is key!
Seated Spinal Twist
Enhance Mobility & Flexibility: Seated spinal twists are a fantastic way to improve spinal mobility and flexibility, often featured prominently in Pilates chair exercise PDFs. This exercise gently stretches the back muscles and increases range of motion.
How to Perform: Sit upright in your chair, feet flat. Gently twist your torso to one side, using the chair back for support if needed. Keep your spine long and avoid forcing the twist. Hold for several breaths, then repeat on the other side.
Finding Guidance: Numerous Pilates chair exercise PDFs offer detailed instructions and modifications for seated spinal twists. Look for resources that emphasize maintaining proper form to prevent strain and maximize benefits. Remember to breathe deeply throughout the exercise!
Seated Leg Extensions
Strengthen Lower Body: Seated leg extensions effectively target the quadriceps and hamstrings, commonly included in Pilates chair exercise PDFs for building lower body strength. This exercise is adaptable for various fitness levels.
Proper Execution: Sit tall in the chair, feet flat on the floor. Extend one leg straight out in front of you, keeping your core engaged. Slowly lower the leg back down, maintaining control. Repeat on the other side.
PDF Resources: Many Pilates chair exercise PDFs provide visual demonstrations and modifications for seated leg extensions. Look for guides that emphasize controlled movements and proper alignment to prevent knee strain. Focus on engaging your core throughout the exercise for stability.
Intermediate Chair Pilates Exercises
Progressive Challenge: Explore Pilates chair exercise PDFs for routines building upon foundational movements, introducing exercises like chair push-ups and seated side bends.
Chair Push-Ups
Chair Push-Ups: A Strength Builder
Chair push-ups are a fantastic intermediate exercise, readily demonstrated in many Pilates chair exercise PDFs. This modification of a traditional push-up offers a scalable challenge, perfect for building upper body strength. Position your hands shoulder-width apart on the edge of a sturdy chair, fingers facing forward.
Lower your chest towards the chair, maintaining a straight back and engaged core – crucial elements often highlighted in instructional PDFs. Push back up to the starting position, focusing on controlled movement. Adjust the difficulty by altering your hand placement; wider grip equals easier, closer grip equals harder.
Many resources emphasize proper form to prevent strain, and Pilates chair exercise PDFs often include visual guides. Remember to breathe consistently throughout the exercise!
Seated Side Bends
Engage Your Obliques with Seated Side Bends
Seated side bends are a key intermediate exercise frequently detailed in Pilates chair exercise PDFs. Begin by sitting tall in your chair, feet flat on the floor, and hands lightly behind your head. Maintaining a straight spine, gently lean to one side, feeling a stretch along your obliques.
Avoid rounding your back or forcing the movement; focus on a controlled bend. Return to the center and repeat on the other side. Many Pilates chair exercise PDFs emphasize keeping your hips stable throughout the exercise.
This exercise improves spinal mobility and strengthens the core. Visual guides within these PDFs often demonstrate proper alignment. Breathe deeply with each bend, enhancing the stretch and core engagement.
Chair Squats
Build Lower Body Strength with Chair Squats
Chair squats are a fantastic intermediate exercise, often illustrated in detailed Pilates chair exercise PDFs. Position yourself in front of a sturdy chair, feet hip-width apart. Slowly lower your body as if sitting back into the chair, lightly touching the seat with your glutes before returning to a standing position.
Maintain a straight back and engaged core throughout the movement. Pilates chair exercise PDFs frequently highlight the importance of keeping your weight in your heels. This exercise strengthens your quads, hamstrings, and glutes.
Modifications, like using arm support, are often shown in these resources. Focus on controlled movements and proper form for optimal results and injury prevention.

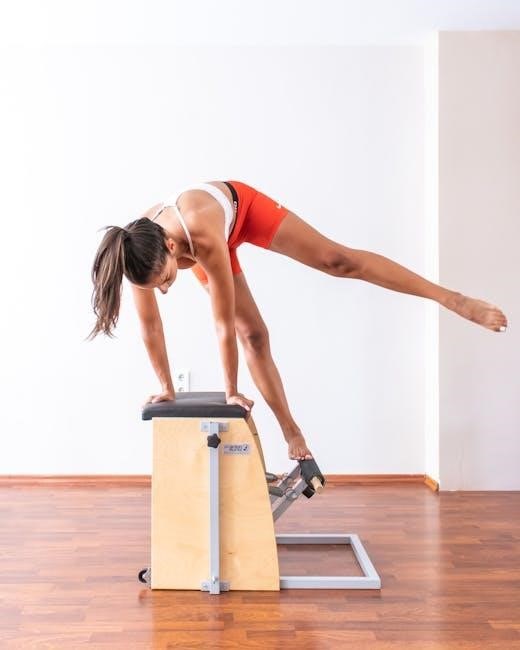
Advanced Chair Pilates Exercises
Challenge your core! Explore Pilates chair exercise PDFs for advanced moves like Chair Pike, Roll-Ups, and Dips, demanding strength and control.
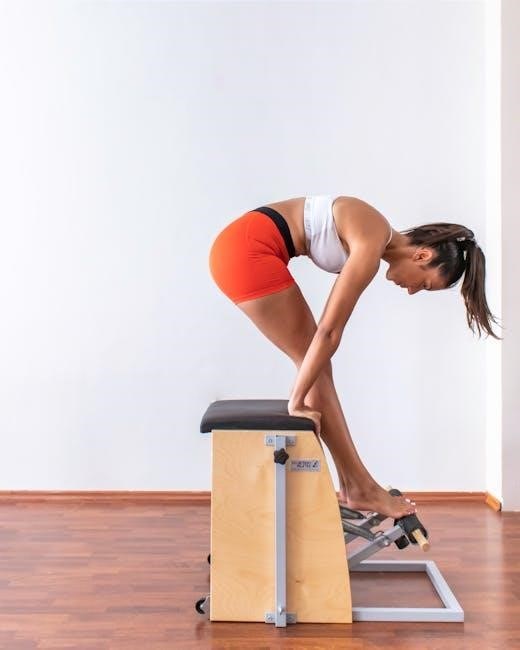
Chair Pike
Engage your entire core with the Chair Pike! This advanced exercise, often detailed in Pilates chair exercise PDFs, builds significant abdominal and back strength. Begin seated on a sturdy chair, legs extended and hip-width apart. Maintain a straight spine as you slowly hinge forward from the hips, reaching towards the floor.
Keep your legs straight (a slight bend is acceptable for beginners) and focus on scooping your abdominal muscles inward. Imagine creating a “V” shape with your body. Hold the pike position briefly, feeling the stretch in your hamstrings and the engagement in your core. Slowly roll back up to the seated position, maintaining control throughout the movement.
Pilates chair exercise PDFs often emphasize proper form to prevent strain. Modifications may include bending the knees or reducing the range of motion; Remember to breathe deeply and consistently throughout the exercise.
Seated Roll-Ups
Strengthen your core and improve spinal articulation with Seated Roll-Ups! Many Pilates chair exercise PDFs showcase this challenging yet effective exercise. Begin seated on the chair, legs extended and slightly apart, arms reaching forward. Inhale to prepare, then exhale as you slowly curl your chin to your chest and roll your spine off the chair.
Engage your abdominal muscles throughout the movement, reaching towards your toes. Maintain control and avoid using momentum. Inhale at the bottom of the roll, then exhale as you slowly stack your spine back up to the seated position, one vertebra at a time.
Pilates chair exercise PDFs often suggest modifications for beginners, such as keeping a slight bend in the knees or using arms for support. Focus on controlled movements and proper breathing for optimal results.
Chair Dips
Target your triceps and chest with Chair Dips! Numerous Pilates chair exercise PDFs demonstrate this effective strength-building exercise. Position yourself on the edge of a sturdy chair, hands shoulder-width apart gripping the seat. Extend your legs forward, keeping a slight bend in your knees.
Inhale as you slowly lower your body by bending your elbows, keeping your back close to the chair. Exhale as you press back up to the starting position, fully extending your arms. Maintain control throughout the movement, avoiding any jerky motions.
Pilates chair exercise PDFs often offer modifications, like bending your knees more or keeping your feet closer to the chair, to adjust the difficulty. Focus on proper form to maximize results and prevent injury.
Finding Pilates Chair Exercise PDFs & Resources
Unlock a world of accessible Pilates! A wealth of Pilates chair exercise PDFs and online resources are readily available. Websites like Balanced Body and Pocket Pilates offer downloadable guides and instructional videos. Searching online using keywords like “chair Pilates PDF,” “seated Pilates workout,” or “Pilates for seniors” yields numerous results.
YouTube channels dedicated to Pilates frequently feature chair-based routines. Many fitness blogs and health websites also provide free Pilates chair exercise PDFs. Remember to assess the source’s credibility and ensure the exercises align with your fitness level.
Explore options for virtual classes or consultations with certified Pilates instructors specializing in chair work for personalized guidance.